This documentation is available as Markdown for AI agents and LLMs. See the full Markdown index or append .md to any documentation URL.
iOS 通用链接
了解如何配置 iOS 通用链接以从标准 Web URL 打开你的 Expo 应用。
要为你的应用配置 iOS 通用链接,你需要设置双向关联来验证你的网站和原生应用。
🌐 To configure iOS Universal Links for your app, you need to set up the two-way association to verify your website and native app.
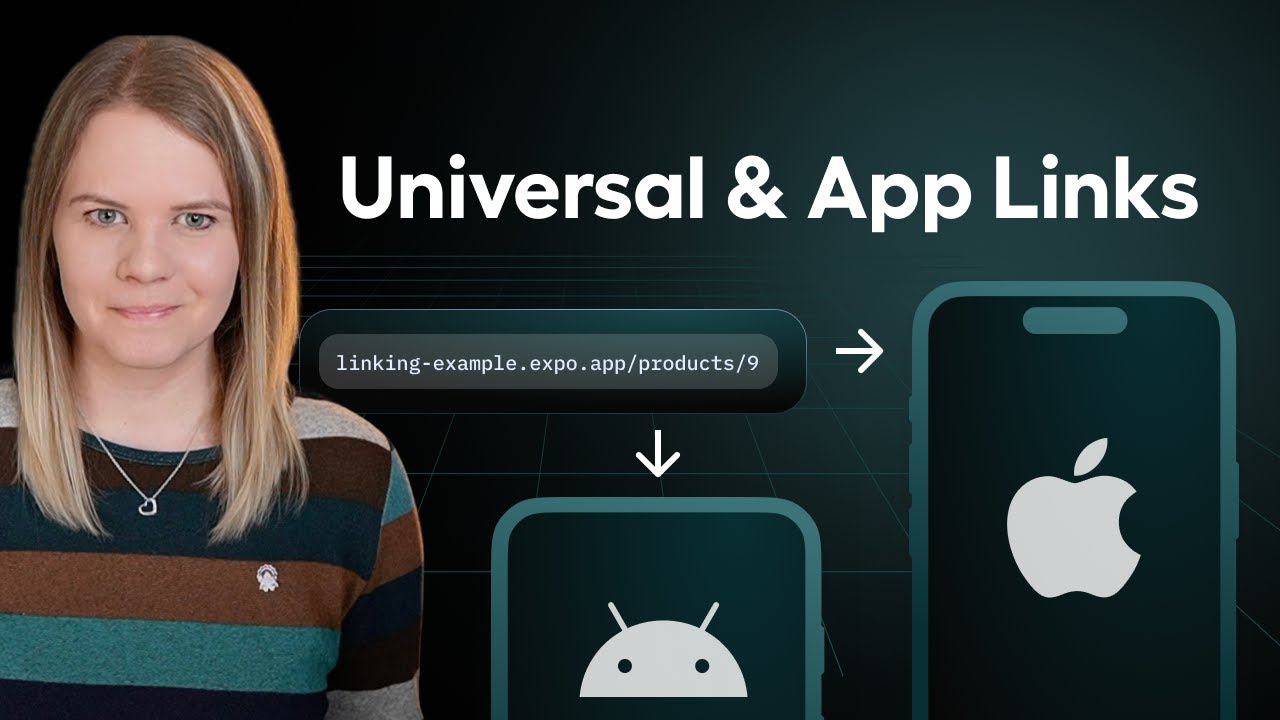
了解如何配置 iOS 通用链接,以便你的 Expo 应用可以从标准网页 URL 打开。
在应用/扩展之间共享数据库(iOS)
🌐 Set up two-way association
要在 iOS 上设置网站与应用之间的双向关联,你需要执行以下步骤:
🌐 To setup two-way association between the website and app for iOS, you need to perform the following steps:
- 网站验证: 这需要在 /.well-known 目录下创建一个 apple-app-site-association (AASA) 文件,并将其托管在目标网站上。该文件用于验证从某个链接打开的应用是否是正确的应用。
- 本地应用验证: 这需要某种形式的代码签名,并引用目标网站域名(URL)。
创建 AASA 文件
🌐 Create AASA file
在 /.well-known 目录中创建一个 apple-app-site-association 文件,用于网站验证。该文件指定你的 Apple 开发者团队 ID、应用包标识符,以及要重定向到原生应用的支持路径列表。
🌐 Create an apple-app-site-association file for the website verification inside the /.well-known directory. This file specifies your Apple Developer Team ID, bundle identifier, and a list of supported paths to redirect to the native app.
信息 你可以在项目中运行 实验性 CLI 命令
npx setup-safari来自动将打包标识符注册到你的 Apple 账户,为该 ID 分配权限,并在商店中创建 iTunes 应用条目。本地设置将被打印出来,你可以跳过大部分后续步骤。这是开始在 iOS 上使用通用链接的最简单方法。
如果你使用 Expo Router 来构建你的网站(或任何其他现代 React 框架,如 Remix、Next.js 等),请在 public/.well-known/apple-app-site-association 创建 AASA 文件。对于旧版 Expo webpack 项目,请在 web/.well-known/apple-app-site-association 创建该文件。
🌐 If you're using Expo Router to build your website (or any other modern React framework such as Remix, Next.js, and so on), create the AASA file at public/.well-known/apple-app-site-association. For legacy Expo webpack projects, create the file at web/.well-known/apple-app-site-association.
{
  // This section enables Universal Links
  "applinks": {
    "apps": [],
    "details": [
      {
        // Syntax: "<APPLE_TEAM_ID>.<BUNDLE_ID>"
        "appID": "QQ57RJ5UTD.com.example.myapp",
        // All paths that should support redirecting.
        "paths": ["/records/*"]
      }
    ]
  },
  // This section enables Apple Handoff
  "activitycontinuation": {
    "apps": ["<APPLE_TEAM_ID>.<BUNDLE_ID>"]
  },
  // This section enable Shared Web Credentials
  "webcredentials": {
    "apps": ["<APPLE_TEAM_ID>.<BUNDLE_ID>"]
  }
}
在上面的例子中:
🌐 In the above example:
- 任何指向
https://www.myapp.io/records/*的链接(对记录 ID 使用通配符匹配)都应由 iOS 设备上具有匹配包标识符的应用直接打开。它是 Apple Team ID 与包标识符的组合。 *通配符不匹配域名或路径分隔符(点和斜杠)。activitycontinuation和webcredentials对象是可选的,但推荐使用。
支持 details 格式
🌐 Supporting details format
details 格式已在 iOS 13 中得到支持。它允许你指定:
🌐 The details format is supported as of iOS 13. It allows you to specify:
appIDs而不是appID:使将多个应用与相同配置关联变得更容易components数组:允许你指定片段、排除特定路径并添加注释
来自苹果文档的 AASA JSON 示例
{
  "applinks": {
    "details": [
      {
        "appIDs": ["ABCDE12345.com.example.app", "ABCDE12345.com.example.app2"],
        "components": [
          {
            "#": "no_universal_links",
            "exclude": true,
            "comment": "Matches any URL whose fragment equals no_universal_links and instructs the system not to open it as a universal link"
          },
          {
            "/": "/buy/*",
            "comment": "Matches any URL whose path starts with /buy/"
          },
          {
            "/": "/help/website/*",
            "exclude": true,
            "comment": "Matches any URL whose path starts with /help/website/ and instructs the system not to open it as a universal link"
          },
          {
            "/": "/help/*",
            "?": {
              "articleNumber": "????"
            },
            "comment": "Matches any URL whose path starts with /help/ and which has a query item with name 'articleNumber' and a value of exactly 4 characters"
          }
        ]
      }
    ]
  }
}
为了支持所有 iOS 版本,你可以在 details 键中提供上述两种格式,但我们建议将较新 iOS 版本的配置放在前面。
🌐 To support all iOS versions, you can provide both the above formats in your details key, but we recommend placing the configuration for more recent iOS versions first.
托管 AASA 文件
🌐 Host AASA file
使用带有你域名的网络服务器托管 apple-app-site-association 文件。该文件必须通过 HTTPS 连接提供。请确认你的浏览器可以访问此文件。
🌐 Host the apple-app-site-association file using a web server with your domain. This file must be served over an HTTPS connection. Verify that your browser can access this file.
在设置好 AASA 文件后,将你的网站部署到支持 HTTPS 的服务器上(大多数现代网络主机都支持)。
🌐 After you have setup the AASA file, deploy your website to a server that supports HTTPS (most modern web hosts).
原生应用配置
🌐 Native app configuration
在部署你的 apple-app-site-association(AASA)文件后,通过向你的应用配置中添加 ios.associatedDomains 来配置你的应用以使用关联域。请确保遵循 Apple 指定的格式,并不要在 URL 中包含协议(https)。这是一个常见错误,会导致通用链接无法正常工作。
🌐 After deploying your apple-app-site-association (AASA) file, configure your app to use your associated domain by adding ios.associatedDomains to your app config. Make sure to follow Apple's specified format and not include the protocol (https) in your URL. This is a common mistake that will result in the universal links not working.
例如,如果关联网站是 https://expo.dev/,则 applinks 是:
🌐 For example, if an associated website is https://expo.dev/, the applinks is:
{
  "expo": {
    "ios": {
      "associatedDomains": ["applinks:expo.dev"]
    }
  }
}
使用 EAS Build 构建你的 iOS 应用,它可以确保权限自动注册到 Apple。
🌐 Build your iOS app with EAS Build which ensures that the entitlement is registered with Apple automatically.
手动本地配置
如果你没有使用 EAS 或 连续原生生成 (npx expo prebuild),你必须为你的打包标识符 手动配置 关联域 功能。
🌐 If you're not using EAS or Continuous Native Generation (npx expo prebuild), you have to manually configure the Associated Domains capability for your bundle identifier.
如果你通过 Apple 开发者控制台 启用,请确保在你的 ios/[app]/[app].entitlements 文件中添加以下权限:
🌐 If you enable through the Apple Developer Console, then make sure to add the following entitlements in your ios/[app]/[app].entitlements file:
<key>com.apple.developer.associated-domains</key>
<array>
  <string>applinks:expo.dev</string>
</array>
原生应用验证
🌐 Native app verification
在你的 iOS 设备上安装应用以触发验证过程。在移动设备上打开指向你网站的链接时应会启动你的应用。如果没有启动,请重新检查前面的步骤,以确保你的 AASA 有效、AASA 中指定的路径正确,并且你已在 Apple 开发者控制台 中正确配置了你的 App ID。
🌐 Install the app on your iOS device to trigger the verification process. A link to your website on your mobile device should open your app. If it doesn't, re-check the previous steps to ensure that your AASA is valid, the path specified in the AASA, and you have correctly configured your App ID in the Apple Developer Console.
打开应用后,请参阅 在应用中处理链接 了解更多关于如何处理传入链接并向用户显示其请求内容的信息。
🌐 Once you have your app opened, see Handle links into your app for more information on how to handle inbound links and show the user the content they requested.
当你的应用首次安装或从 App Store 安装更新时,iOS 会下载你的 AASA。之后操作系统不会频繁刷新。如果你想更改生产应用中 AASA 的路径,你需要通过 App Store 提交完整更新,以便所有用户的应用重新获取你的 AASA 并识别新的路径。
苹果智能横幅
🌐 Apple Smart Banner
如果用户没有安装你的应用,他们将被引导到网站。你可以使用 Apple 智能横幅 在页面顶部显示一个横幅,提示用户安装应用。只有当用户使用移动设备且未安装该应用时,横幅才会显示。
🌐 If a user doesn't have your app installed, they'll be directed to the website. You can use the Apple Smart Banner to show a banner at the top of the page that prompts the user to install the app. The banner will only show up if the user is on a mobile device and doesn't have the app installed.
要启用横幅,请将以下 meta 标签添加到你网站的 <head> 中,并用你的应用 iTunes ID 替换 <ITUNES_ID>:
🌐 To enable the banner, add the following meta tag to the <head> of your website, replacing <ITUNES_ID> with your app's iTunes ID:
<meta name="apple-itunes-app" content="app-id=<ITUNES_ID>" />
如果你在设置横幅时遇到问题,请运行以下命令为你的项目自动生成元标签:
🌐 If you're having trouble setting up the banner, run the following command to automatically generate the meta tag for your project:
- npx setup-safari将 meta 标签添加到你的静态渲染网站中
🌐 Add the meta tag to your statically rendered website
如果你正在使用 Expo Router 构建 静态渲染网站,那么请在你的 src/app/+html.js 文件中的 <head> 组件中添加 HTML 标签。
🌐 If you're building a statically rendered website with Expo Router, then add the HTML tag to the <head> component in your src/app/+html.js file.
import { type PropsWithChildren } from 'react';

export default function Root({ children }: PropsWithChildren) {
  return (
    <html lang="en">
      <head>
        <meta charSet="utf-8" />
        <meta httpEquiv="X-UA-Compatible" content="IE=edge" />
        <meta name="apple-itunes-app" content="app-id=<ITUNES_ID>" />
        {/* Other head elements... */}
      </head>
      <body>{children}</body>
    </html>
  );
}
调试
🌐 Debugging
Expo CLI 使你可以在不部署网站的情况下测试 iOS 通用链接。通过使用 --tunnel 功能,你可以将开发服务器转发到一个公开可用的 HTTPS URL。
🌐 Expo CLI enables you to test iOS Universal Links without deploying a website. Utilizing the --tunnel functionality, you can forward your dev server to a publicly available HTTPS URL.
1
设置环境变量 EXPO_TUNNEL_SUBDOMAIN=my-custom-domain,其中 my-custom-domain 是你在开发过程中使用的唯一字符串。这可以确保你的隧道 URL 在开发服务器重启时保持一致。
🌐 Set the environment variable EXPO_TUNNEL_SUBDOMAIN=my-custom-domain where my-custom-domain is a unique string that you use during development. This ensures that your tunnel URL is consistent across dev server restarts.
2
按照上文所述 described above 将 associatedDomains 添加到你的应用配置中。将域名值替换为 Ngrok URL:my-custom-domain.ngrok.io。
🌐 Add associatedDomains to your app config as described above. Replace the domain value with a Ngrok URL: my-custom-domain.ngrok.io.
3
使用 --tunnel 标志启动你的开发服务器:
🌐 Start your dev server with the --tunnel flag:
- npx expo start --tunnel4
在你的设备上编译开发版:
🌐 Compile the development build on your device:
- npx expo run:ios你现在可以在设备的 Web 浏览器中键入自定义域链接来打开你的应用。
🌐 You can now type your custom domain link in your device's web browser to open your app.
故障排除
🌐 Troubleshooting
以下是一些在实现 iOS 通用链接时帮助你排除故障的常见提示:
🌐 Here are some common tips to help you troubleshoot when implementing iOS Universal Links: