This documentation is available as Markdown for AI agents and LLMs. See the full Markdown index or append .md to any documentation URL.
JavaScript 标签页
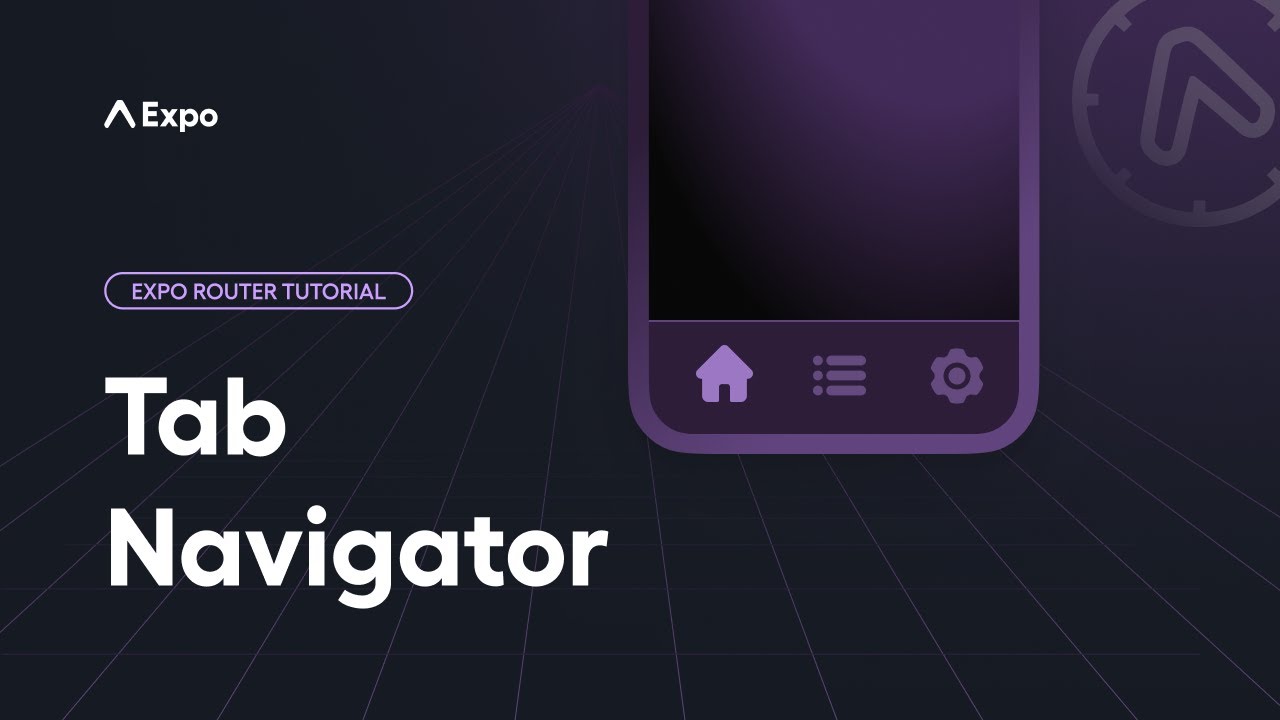
了解如何在 Expo Router 中使用 JavaScript 选项卡布局(React Navigation 底部选项卡)。
配置标签图标、嵌套导航器并管理导航历史。
选项卡是在应用的不同部分之间导航的常用方式。Expo Router 提供了选项卡布局,帮助你在应用底部创建选项卡栏。开始的最快方法是使用模板。查看快速开始安装以开始使用。
🌐 Tabs are a common way to navigate between different sections of an app. Expo Router provides a tabs layout to help you create a tab bar at the bottom of your app. The fastest way to get started is to use a template. See the quick start installation to get started.
多标签布局
🌐 Multiple tab layouts
Expo Router 提供三种类型的标签导航器:
🌐 Expo Router offers three types of tab navigators:
- JavaScript 选项卡:它是通过 React Navigation 的底部选项卡实现的,如果你已经使用过 React Navigation,它提供了熟悉的 API。
- 原生标签:它使用平台的原生标签栏,并提供原生的外观和感觉。
- 自定义标签:它提供来自
expo-router/ui的无头标签组件,用于构建完全自定义的标签布局,以实现复杂的 UI 模式。
本指南涵盖了 JavaScript 标签页 布局。有关其他标签页布局,请参见:
🌐 This guide covers the JavaScript tabs layout. For other tab layouts see:
如果你想让标签栏具有本地化的外观和感觉,请查看原生选项卡。
如果你的应用需要完全自定义的设计,而系统选项卡无法实现,请查看自定义选项卡。
开始使用 JavaScript 标签页
🌐 Get started with JavaScript tabs
你可以使用基于文件的路由来创建标签布局。下面是一个示例文件结构:
🌐 You can use file-based routing to create a tabs layout. Here's an example file structure:
srcapp_layout.tsx(tabs)_layout.tsxindex.tsxsettings.tsx此文件结构会生成一个屏幕底部带有标签栏的布局。标签栏将有两个标签:首页 和 设置:
🌐 This file structure produces a layout with a tab bar at the bottom of the screen. The tab bar will have two tabs: Home and Settings:
你可以使用 src/app/_layout.tsx 文件来定义应用的根布局:
🌐 You can use the src/app/_layout.tsx file to define your app's root layout:
import { Stack } from 'expo-router';

export default function Layout() {
  return (
    <Stack>
      <Stack.Screen name="(tabs)" options={{ headerShown: false }} />
    </Stack>
  );
}
(tabs) 目录是一个特殊的目录名称,用于告诉 Expo Router 使用 Tabs 布局。
🌐 The (tabs) directory is a special directory name that tells Expo Router to use the Tabs layout.
从文件结构来看,(tabs) 目录下有三个文件。第一个是 (tabs)/_layout.tsx。这个文件是标签栏和每个标签的主布局文件。在其中,你可以控制标签栏和每个标签按钮的外观和行为。
🌐 From the file structure, the (tabs) directory has three files. The first is (tabs)/_layout.tsx. This file is the main layout file for the tab bar and each tab. Inside it, you can control how the tab bar and each tab button look and behave.
import FontAwesome from '@expo/vector-icons/FontAwesome';
import { Tabs } from 'expo-router';

export default function TabLayout() {
  return (
    <Tabs screenOptions={{ tabBarActiveTintColor: 'blue' }}>
      <Tabs.Screen
        name="index"
        options={{
          title: 'Home',
          tabBarIcon: ({ color }) => <FontAwesome size={28} name="home" color={color} />,
        }}
      />
      <Tabs.Screen
        name="settings"
        options={{
          title: 'Settings',
          tabBarIcon: ({ color }) => <FontAwesome size={28} name="cog" color={color} />,
        }}
      />
    </Tabs>
  );
}
最后,你有了组成标签内容的两个标签文件:src/app/(tabs)/index.tsx 和 src/app/(tabs)/settings.tsx。
🌐 Finally, you have the two tab files that make up the content of the tabs: src/app/(tabs)/index.tsx and src/app/(tabs)/settings.tsx.
import { View, Text, StyleSheet } from 'react-native';

export default function Tab() {
  return (
    <View style={styles.container}>
      <Text>Tab [Home|Settings]</Text>
    </View>
  );
}

const styles = StyleSheet.create({
  container: {
    flex: 1,
    justifyContent: 'center',
    alignItems: 'center',
  },
});
名为 index.tsx 的标签文件是在应用加载时的默认标签。第二个标签文件 settings.tsx 展示了如何向标签栏中添加更多标签。
🌐 The tab file named index.tsx is the default tab when the app loads. The second tab file settings.tsx shows how you can add more tabs to the tab bar.
标签栏选项
🌐 Tab bar options
Expo Router 中的 JavaScript 标签页扩展了来自 React Navigation 的 底部标签导航器。可用的具体 API 取决于你的版本。例如,Expo Router v6 扩展了 Bottom Tabs Navigator v7。请检查你的版本以确保兼容性,然后你可以使用相同的配置属性来自定义底部标签栏和单个标签页。例如:
🌐 The JavaScript tabs in Expo Router extend the Bottom Tabs Navigator from React Navigation. The specific APIs available depend on your versions. For example, Expo Router v6 extends Bottom Tabs Navigator v7. Check your versions to ensure compatibility, then you can use the same configuration props to customize the bottom tab bar and individual tabs. For example:
import { Tabs } from 'expo-router';

export default function TabLayout() {
  return (
    <Tabs
      screenOptions={
        {
          // Here to apply for all tabs
        }
      }>
      <Tabs.Screen
        name="index"
        options={
          {
            // Or here to apply for one tab
          }
        }
      />
    </Tabs>
  );
}
支持的选项卡栏选项如下:
🌐 The supported tab bar options are listed below:
Tab bar options
| Option | Platform | Description |
|---|---|---|
tabBarAccessibilityLabel | Android iOS | Accessibility label for the tab button. This is read by the screen reader when the user taps the tab. It's recommended to set this if you don't have a label for the tab. |
tabBarActiveBackgroundColor | Android iOS | Background color for the active tab. |
tabBarActiveTintColor | Android iOS | Color for the icon and label in the active tab. |
tabBarBackground | Android iOS | Function which returns a React Element to use as background for the tab bar. You could render an image, a gradient, blur view etc.:
When using |
tabBarBadge | Android iOS | Text to show in a badge on the tab icon. Accepts a |
tabBarBadgeStyle | Android iOS | Style for the badge on the tab icon. You can specify a background color or text color here. |
tabBarButton | Android iOS | Function which returns a React element to render as the tab bar button. It wraps the icon and label. Renders You can specify a custom implementation here:
|
tabBarButtonTestID | Android iOS | ID to locate this tab button in tests. |
tabBarHideOnKeyboard | Android iOS | Whether the tab bar is hidden when the keyboard opens. Defaults to |
tabBarIcon | Android iOS | Function that given |
tabBarIconStyle | Android iOS | Style object for the tab icon. |
tabBarInactiveBackgroundColor | Android iOS | Background color for the inactive tabs. |
tabBarInactiveTintColor | Android iOS | Color for the icon and label in the inactive tabs. |
tabBarItemStyle | Android iOS | Style object for the tab item container. |
tabBarLabel | Android iOS | Title string of a tab displayed in the tab bar or a function that given |
tabBarLabelPosition | Android iOS | Whether the label is shown below the icon or beside the icon. By default, the position is chosen automatically based on device width.
|
tabBarLabelStyle | Android iOS | Style object for the tab label. |
tabBarPosition | Android iOS | Position of the tab bar. Available values are:
When the tab bar is positioned on the
|
tabBarShowLabel | Android iOS | Whether the tab label should be visible. Defaults to |
tabBarStyle | Android iOS | Style object for the tab bar. You can configure styles such as background color here. To show your screen under the tab bar, you can set the
You also might need to add a bottom margin to your content if you have an absolutely positioned tab bar. React Navigation won't do it automatically. See |
tabBarVariant | Android iOS | Variant of the tab bar. Available values are:
The |
有关更多详情和特定导航器示例,请参阅 React Navigation 的底部标签导航文档。
🌐 For additional details and navigator-specific examples, see React Navigation's Bottom Tabs Navigator documentation.
高级
🌐 Advanced
隐藏选项卡
🌐 Hiding a tab
有时候你希望某个路由存在,但不显示在标签栏中。你可以传递 href: null 来禁用按钮:
🌐 Sometimes you want a route to exist but not show up in the tab bar. You can pass href: null to disable the button:
import { Tabs } from 'expo-router';

export default function TabLayout() {
  return (
    <Tabs>
      <Tabs.Screen
        name="index"
        options={{
          href: null,
        }}
      />
    </Tabs>
  );
}
动态路由
🌐 Dynamic routes
你可以在标签栏中使用动态路由。例如,你有一个 [user] 标签显示用户的个人资料。你可以使用 href 选项链接到特定用户的个人资料。
🌐 You can use a dynamic route in a tab bar. For example, you have a [user] tab that shows a user's profile. You can use the href option to link to a specific user's profile.
import { Tabs } from 'expo-router';

export default function TabLayout() {
  return (
    <Tabs>
      <Tabs.Screen
        // Name of the dynamic route.
        name="[user]"
        options={{
          // Ensure the tab always links to the same href.
          href: '/evanbacon',
          // OR you can use the href object.
          href: {
            pathname: '/[user]',
            params: {
              user: 'evanbacon',
            },
          },
        }}
      />
    </Tabs>
  );
}
注意:在你的标签布局中添加动态路由时,请确保所定义的动态路由是唯一的。不能为同一个动态路由设置两个屏幕。例如,不能有两个
[user]标签。如果需要多个动态路由,请创建一个自定义导航器。