This documentation is available as Markdown for AI agents and LLMs. See the full Markdown index or append .md to any documentation URL.
@stripe/stripe-react-native
提供对原生 API 的访问以集成 Stripe 支付的库。
Expo 包含对 @stripe/stripe-react-native 的支持,这使你能够在使用 React Native 和 Expo 的原生 Android 和 iOS 应用中构建出色的支付体验。该库提供强大且可自定义的用户界面屏幕和元素,可以开箱即用来收集用户的支付信息。
🌐 Expo includes support for @stripe/stripe-react-native, which allows you to build delightful payment experiences in your native Android and iOS apps using React Native and Expo. This library provides powerful and customizable UI screens and elements that can be used out-of-the-box to collect your users' payment details.
从 Expo 的
expo-payments-stripe模块迁移?了解有关如何过渡到新的@stripe/stripe-react-native库的更多信息。
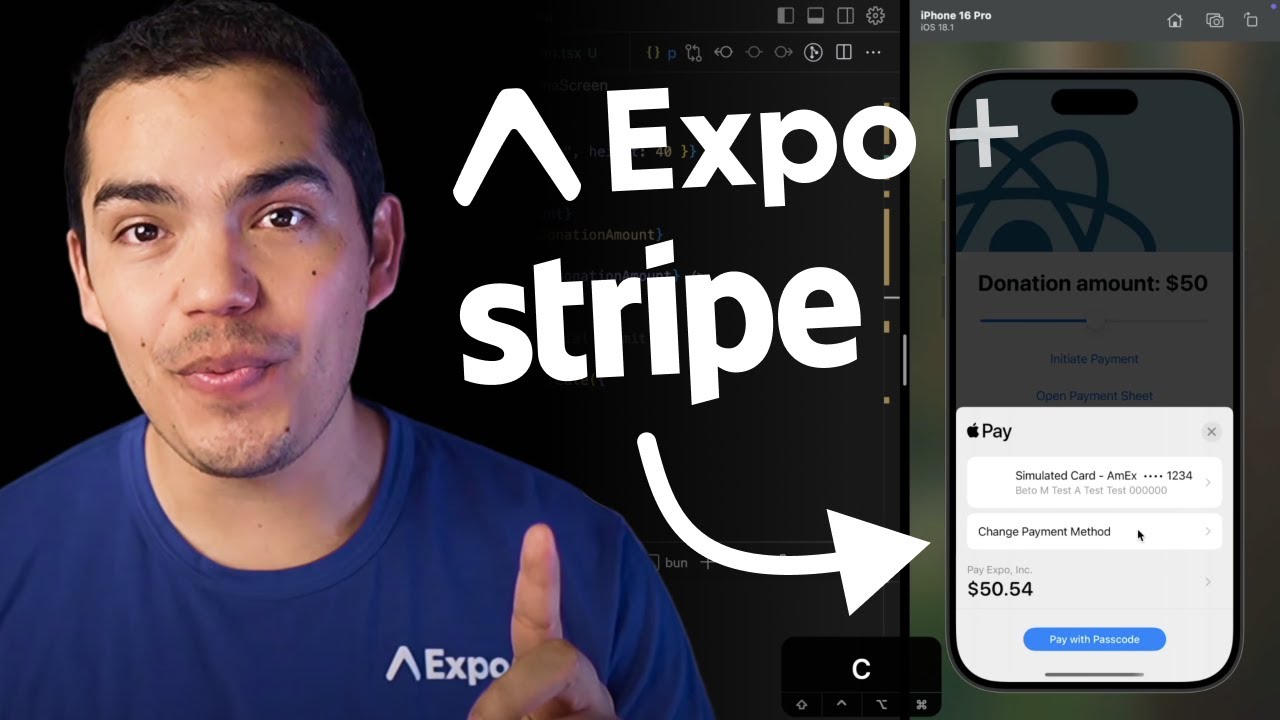
在 Android、iOS 和网页上为通用 Expo 应用集成 Stripe 支付的完整操作指南。
安装
🌐 Installation
每个 Expo SDK 版本都需要特定的 @stripe/stripe-react-native 版本。请参阅 Stripe 更新日志 获取版本对应表。要自动安装与你的 Expo SDK 版本匹配的正确版本,请运行:
🌐 Each Expo SDK version requires a specific @stripe/stripe-react-native version. See the Stripe CHANGELOG for a mapping of versions. To automatically install the correct version for your Expo SDK version, run:
- npx expo install @stripe/stripe-react-nativeIf you are installing this in an existing React Native app, make sure to install expo in your project. Then, follow the installation instructions provided in the library's README or documentation.
配置插件设置(可选)
🌐 Config plugin setup (optional)
如果你使用 EAS Build,你可以通过 @stripe/stripe-react-native 配置插件 完成大部分的 Stripe 设置。要进行设置,只需将配置插件添加到 app.json 或 app.config.js 的 plugins 数组中,如下所示,然后重新构建应用。
🌐 If you're using EAS Build, you can do most of your Stripe setup using the @stripe/stripe-react-native config plugin. To set up, just add the config plugin to the plugins array of your app.json or app.config.js as shown below, then rebuild the app.
{
  "expo": {
    %%placeholder-start%%... %%placeholder-end%%
    "plugins": [
      [
        "@stripe/stripe-react-native",
        {
          "merchantIdentifier": string | string [],
          "enableGooglePay": boolean
        }
      ]
    ],
  }
}
- merchantIdentifier:仅适用于 iOS。这是 在此获取的 Apple 商户 ID。否则,Apple Pay 将无法正常工作。如果你有多个 merchantIdentifier,你可以将它们设置在数组中。
- enableGooglePay:仅限 Android。布尔值,表示是否启用 Google Pay。默认值为
false。
示例
🌐 Example
试用 Stripe 只需几秒钟。在你的设备上连接到 这个 Snack。
🌐 Trying out Stripe takes just a few seconds. Connect to this Snack on your device.
在底层,该示例连接到 Glitch 服务器进行支付处理。
🌐 Under the hood, that example connects to a Glitch server for payment processing.
用法
🌐 Usage
有关使用信息和详细文档,请参阅以下资源:
🌐 For usage information and detailed documentation, see the following resources:
常见问题
🌐 Common issues
浏览器弹出窗口没有重定向回我的应用
🌐 Browser pop-ups are not redirecting back to my app
如果你依赖重定向,你需要将 urlScheme 传递给 initStripe。为了确保你始终使用正确的 urlScheme,请传入:
🌐 If you're relying on redirects, you'll need to pass in a urlScheme to initStripe. To make sure you always use the proper urlScheme, pass in:
import * as Linking from 'expo-linking';
import Constants from 'expo-constants';

urlScheme:
  Constants.appOwnership === 'expo'
    ? Linking.createURL('/--/')
    : Linking.createURL(''),
[Linking.createURL()](./linking/#createurloptions) 将确保你使用正确的方案,无论你是在 Expo Go 中运行还是在生产应用中运行。在 Expo Go 中需要使用 '/--/',因为它表示其后的子字符串对应深度链接路径,而不是应用本身的路径的一部分。
iOS 上的 PaymentSheet 本地化
🌐 PaymentSheet localization on iOS
在 Android 上,PaymentSheet 的翻译会根据设备的语言设置自动检测。
🌐 On Android, the translation of PaymentSheet is automatically detected based on a device's language settings.
在 iOS 上,你必须启用 CFBundleAllowMixedLocalizations 并在应用配置的 ios.infoPlist 下使用 CFBundleLocalizations 添加首选语言:
🌐 On iOS, you must enable CFBundleAllowMixedLocalizations and add the preferred language using CFBundleLocalizations under ios.infoPlist in the app config:
{
  "expo": {
    "ios": {
      "infoPlist": {
        "CFBundleAllowMixedLocalizations": true,
        "CFBundleLocalizations": ["fr"]
        %%placeholder-start%%... %%placeholder-end%%
      }
      %%placeholder-start%%... %%placeholder-end%%
    }
  }
}
局限性
🌐 Limitations
谷歌支付
🌐 Google Pay
Google Pay 不支持在 Expo Go 使用。要使用 Google Pay,你必须创建一个 开发构建。这可以通过 EAS Build 完成,或在本地运行 npx expo run:android 来实现。
🌐 Google Pay is not supported in Expo Go. To use Google Pay, you must create a development build. This can be done with EAS Build, or locally by running npx expo run:android.
苹果支付
🌐 Apple Pay
Apple Pay 不支持在 Expo Go 使用。要使用 Apple Pay,你必须创建一个 开发构建。这可以通过 EAS Build 完成,或在本地运行 npx expo run:ios 来实现。
🌐 Apple Pay is not supported in Expo Go. To use Apple Pay, you must create a development build. This can be done with EAS Build, or locally by running npx expo run:ios.