This documentation is available as Markdown for AI agents and LLMs. See the full Markdown index or append .md to any documentation URL.
键盘处理
处理 Android 或 iOS 设备上常见键盘交互的指南。
在 Expo 应用中,键盘处理对于创建出色的用户体验至关重要。React Native 提供了 Keyboard 和 KeyboardAvoidingView,它们通常用于处理键盘事件。对于更复杂或自定义的键盘交互,你可以考虑使用 react-native-keyboard-controller,这是一个提供高级键盘处理功能的库。
🌐 Keyboard handling is crucial for creating an excellent user experience in your Expo app. React Native provides Keyboard and KeyboardAvoidingView, which are commonly used to handle keyboard events. For more complex or custom keyboard interactions, you can consider using react-native-keyboard-controller, which is a library that offers advanced keyboard handling capabilities.
本指南介绍常见的键盘交互以及如何有效地管理它们。
🌐 This guide covers common keyboard interactions and how to manage them effectively.
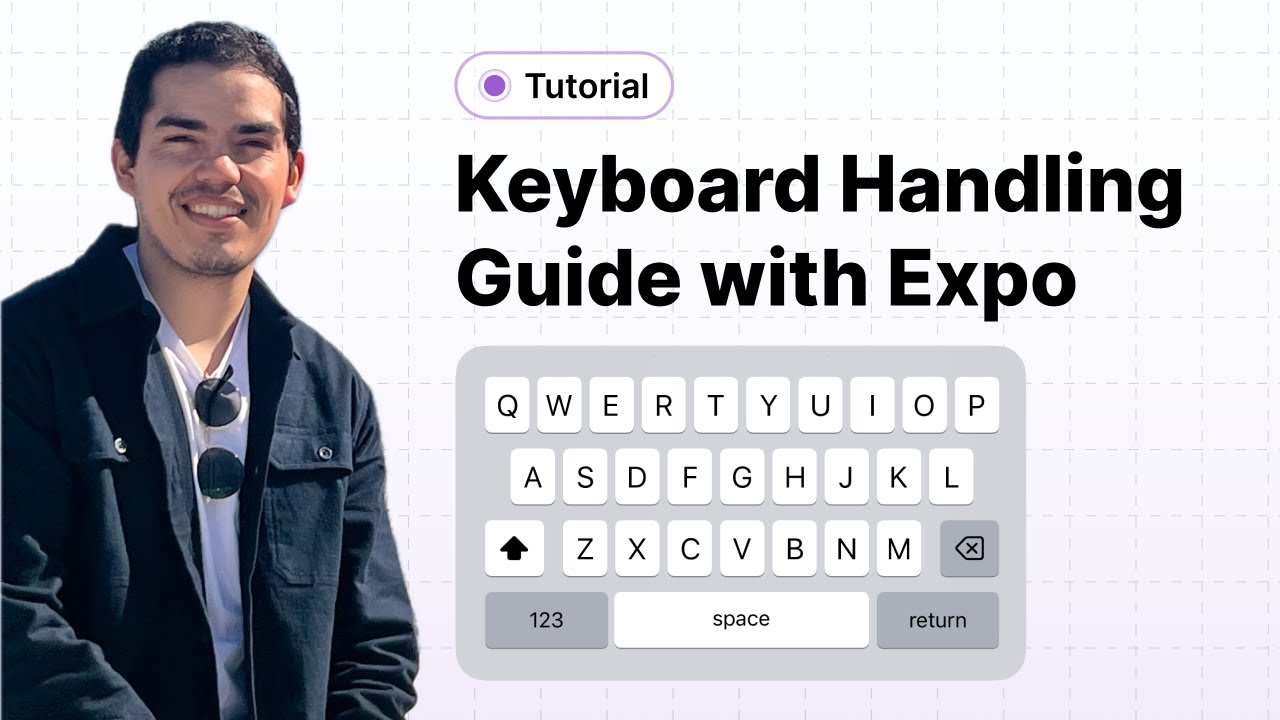
在这个针对 React Native 应用的键盘处理教程中,你将学会如何解决当你在应用中输入时键盘遮挡输入框的问题。
键盘处理基础
🌐 Keyboard handling basics
以下部分介绍如何使用通用 API 处理键盘交互。
🌐 The following sections explain how to handle keyboard interactions with common APIs.
键盘避免视图
🌐 Keyboard avoiding view
KeyboardAvoidingView 是一个组件,它会根据键盘高度自动调整视图的高度、位置或底部内边距,以确保在键盘显示时仍然可见。
🌐 The KeyboardAvoidingView is a component that automatically adjusts a view's height, position, or bottom padding based on the keyboard height to remain visible while it is displayed.
Android 和 iOS 对 behavior 属性的处理方式不同。在 iOS 上,通常 padding 效果最好,而在 Android 上,只要有 KeyboardAvoidingView 就可以防止遮挡输入框。这就是为什么下面的示例在 Android 上使用 undefined 的原因。尝试调整 behavior 是一个好习惯,因为不同的选项可能对你的应用效果更佳。
🌐 Android and iOS interact with the behavior property differently. On iOS, padding is usually what works best, and for Android, just having the KeyboardAvoidingView prevents covering the input. This is why the following example uses undefined for Android. Playing around with the behavior is a good practice since a different option could work best for your app.
import { KeyboardAvoidingView, TextInput } from 'react-native';

export default function HomeScreen() {
  return (
    <KeyboardAvoidingView behavior={Platform.OS === 'ios' ? 'padding' : undefined} style={{ flex: 1 }}>
      <TextInput placeholder="Type here..." />
    </KeyboardAvoidingView>;
  );
}
在上述示例中,KeyboardAvoidingView 的高度会根据设备键盘的高度自动调整,从而确保输入框始终可见。
🌐 In the above example, the height of the KeyboardAvoidingView automatically adjusts based on the device's keyboard height, which ensures that the input is always visible.
在 Android 上使用底部标签导航时,你可能会注意到,当输入字段获得焦点时,底部标签会被键盘顶起。为了解决这个问题,请在你的 Android 配置的 应用配置 中添加 softwareKeyboardLayoutMode 属性,并将其设置为 pan。
🌐 When using a Bottom Tab navigator on Android, you might notice that focusing on an input field causes the bottom tabs to be pushed above the keyboard. To address this issue, add the softwareKeyboardLayoutMode property to your Android configuration in app config and set it to pan.
"expo" {
  "android": {
    "softwareKeyboardLayoutMode": "pan"
  }
}
添加此属性后,重新启动开发服务器并重新加载你的应用以应用更改。
🌐 After adding this property, restart the development server and reload your app to apply the changes.
也可以使用 tabBarHideOnKeyboard 在键盘弹出时隐藏底部标签。这是底部标签导航器的一个选项。如果设置为 true,当键盘弹出时将会隐藏该栏。
🌐 It's also possible to hide the bottom tab when the keyboard opens using tabBarHideOnKeyboard. It is an option with the Bottom Tab Navigator. If set to true, it will hide the bar when the keyboard opens.
import { Tabs } from 'expo-router';

export default function TabLayout() {
  return (
    <Tabs
      screenOptions={{
        tabBarHideOnKeyboard: true,
      }}>
      <Tabs.Screen name="index" />
    </Tabs>
  );
}
键盘事件
🌐 Keyboard events
React Native 的 Keyboard 模块允许你监听原生事件、对其作出反应,并对键盘进行操作,例如将其收起。
🌐 The Keyboard module from React Native allows you to listen for native events, react to them, and make changes to the keyboard, such as dismissing it.
要监听键盘事件,请使用 Keyboard.addListener 方法。此方法接受一个事件名称和一个回调函数作为参数。当键盘显示或隐藏时,回调函数会被调用并传入事件数据。
🌐 To listen for keyboard events, use the Keyboard.addListener method. This method accepts an event name and a callback function as arguments. When the keyboard is shown or hidden, the callback function is called with the event data.
以下示例说明了添加键盘监听器的用例。每次键盘显示或隐藏时,状态变量 isKeyboardVisible 都会切换。根据该变量,按钮允许用户仅在键盘处于活动状态时关闭键盘。此外,请注意该按钮使用了 Keyboard.dismiss 方法。
🌐 The following example illustrates a use case for adding a keyboard listener. The state variable isKeyboardVisible is toggled each time the keyboard shows or hides. Based on this variable, a button allows the user to dismiss the keyboard only if the keyboard is active. Also, notice that the button uses the Keyboard.dismiss method.
import { useEffect, useState } from 'react';
import { Keyboard, View, Button, TextInput } from 'react-native';

export default function HomeScreen() {
  const [isKeyboardVisible, setIsKeyboardVisible] = useState(false);

  useEffect(() => {
    const showSubscription = Keyboard.addListener('keyboardDidShow', handleKeyboardShow);
    const hideSubscription = Keyboard.addListener('keyboardDidHide', handleKeyboardHide);

    return () => {
      showSubscription.remove();
      hideSubscription.remove();
    };
  }, []);

  const handleKeyboardShow = event => {
    setIsKeyboardVisible(true);
  };

  const handleKeyboardHide = event => {
    setIsKeyboardVisible(false);
  };

  return (
    <View>
      {isKeyboardVisible && <Button title="关闭键盘" onPress={Keyboard.dismiss} />}
      <TextInput placeholder="Type here..." />
    </View>
  );
}
使用键盘控制器进行高级键盘处理
🌐 Advanced keyboard handling with Keyboard Controller
对于更复杂的键盘交互,例如包含多个文本输入字段的较大可滚动表单,可以考虑使用 react-native-keyboard-controller(键盘控制器) 库。它提供了超出内置 React Native 键盘 API 的额外功能,在 Android 和 iOS 上提供一致性,只需最少配置,并提供用户期望的原生体验。
🌐 For more complex keyboard interactions, such as larger scrollable entry forms with several text input fields, consider using the react-native-keyboard-controller (Keyboard Controller) library. It offers additional functionality beyond the built-in React Native keyboard APIs, providing consistency across Android and iOS with minimal configuration and offering the native feel users expect.
2 要求
2 要求
安装
🌐 Install
首先在你的 Expo 项目中安装键盘控制器库:
🌐 Start by installing the Keyboard Controller library in your Expo project:
- npx expo install react-native-keyboard-controller设置双向关联
🌐 Set up provider
要完成设置,请将 KeyboardProvider 添加到你的应用中。
🌐 To finalize the setup, add the KeyboardProvider to your app.
import { Stack } from 'expo-router';
import { KeyboardProvider } from 'react-native-keyboard-controller';

export default function RootLayout() {
  return (
    <KeyboardProvider>
      <Stack>
        <Stack.Screen name="home" />
        <Stack.Screen name="chat" />
      </Stack>
    </KeyboardProvider>
  );
}
处理多个输入
🌐 Handling multiple inputs
KeyboardAvoidingView 组件非常适合用于原型设计,但它需要特定平台的配置,并且可定制性不强。
🌐 The KeyboardAvoidingView component is excellent for prototyping, but it requires platform-specific configuration and is not very customizable.
作为一个更强大的替代方案,你可以使用 KeyboardAwareScrollView 组件。它会自动滚动到聚焦的 TextInput 并提供类似原生的性能。对于只有少量元素的简单屏幕,使用 KeyboardAwareScrollView 是一个很好的方法。
🌐 As a more powerful alternative, you can use the KeyboardAwareScrollView component. It automatically scrolls to a focused TextInput and provides native-like performance. For simple screens with only a few elements, using KeyboardAwareScrollView is a great approach.
对于具有多个输入的屏幕,键盘控制器库还提供了一个 KeyboardToolbar 组件,可与 KeyboardAwareScrollView 一起使用。这些组件可以一起处理输入导航,并防止键盘覆盖屏幕,无需自定义配置:
🌐 For screens with multiple inputs, the Keyboard Controller library also provides a KeyboardToolbar component to use alongside KeyboardAwareScrollView. Together, these components handle input navigation and prevent the keyboard from covering the screen without custom configuration:
import { TextInput, View, StyleSheet } from 'react-native';
import { KeyboardAwareScrollView, KeyboardToolbar } from 'react-native-keyboard-controller';

export default function FormScreen() {
  return (
    <>
      <KeyboardAwareScrollView bottomOffset={62} contentContainerStyle={styles.container}>
        <View>
          <TextInput placeholder="Type a message..." style={styles.textInput} />
          <TextInput placeholder="Type a message..." style={styles.textInput} />
        </View>
        <TextInput placeholder="Type a message..." style={styles.textInput} />
        <View>
          <TextInput placeholder="Type a message..." style={styles.textInput} />
          <TextInput placeholder="Type a message..." style={styles.textInput} />
          <TextInput placeholder="Type a message..." style={styles.textInput} />
        </View>
        <TextInput placeholder="Type a message..." style={styles.textInput} />
      </KeyboardAwareScrollView>
      <KeyboardToolbar />
    </>
  );
}

const styles = StyleSheet.create({
  container: {
    gap: 16,
    padding: 16,
  },
  listStyle: {
    padding: 16,
    gap: 16,
  },
  textInput: {
    width: 'auto',
    flexGrow: 1,
    flexShrink: 1,
    height: 45,
    borderWidth: 1,
    borderRadius: 8,
    borderColor: '#d8d8d8',
    backgroundColor: '#fff',
    padding: 8,
    marginBottom: 8,
  },
});
上面的示例使用 KeyboardAwareScrollView 封装输入框,以防止键盘遮挡它们。KeyboardToolbar 组件显示导航控件和关闭按钮。虽然它无需配置即可使用,但如果需要,你可以自定义工具栏内容。
🌐 The above example wraps the inputs with KeyboardAwareScrollView to prevent the keyboard from covering them. The KeyboardToolbar component displays navigation controls and a dismiss button. While it works without configuration, you can customize the toolbar content if needed.
与键盘高度同步的动画视图
🌐 Animating views in sync with keyboard height
对于更高级且可自定义的方法,你可以使用 useKeyboardHandler。它提供了键盘生命周期事件的访问,让我们可以确定键盘何时开始动画以及在动画的每一帧中的位置。
🌐 For a more advanced and customizable approach, you can use useKeyboardHandler. It provides access to keyboard lifecycle events. It allows us to determine when the keyboard starts animating and its position in every frame of the animation.
使用 useKeyboardHandler 钩子,你可以创建一个自定义钩子来获取每一帧的键盘高度。它使用 reanimated 中的 useSharedValue 来返回高度,如下所示。
🌐 Using the useKeyboardHandler hook, you can create a custom hook to access the height of the keyboard at each frame. It uses useSharedValue from reanimated to return the height, as shown below.
import { useKeyboardHandler } from 'react-native-keyboard-controller';
import Animated, { useAnimatedStyle, useSharedValue } from 'react-native-reanimated';

const useGradualAnimation = () => {
  const height = useSharedValue(0);

  useKeyboardHandler(
    {
      onMove: event => {
        'worklet';
        height.value = Math.max(event.height, 0);
      },
    },
    []
  );
  return { height };
};
你可以使用 useGradualAnimation 钩子来对视图进行动画处理,并在键盘激活或关闭时为其提供平滑的动画,例如在聊天屏幕组件中(如下例所示)。该组件从钩子中获取键盘高度。然后,它使用 reanimated 的 useAnimatedStyle 钩子创建一个名为 fakeView 的动画样式。该样式仅包含一个属性:height,其值设置为键盘的高度。
🌐 You can use the useGradualAnimation hook to animate a view and give it a smooth animation when the keyboard is active or dismissed, for example, in a chat screen component (shown in the example below). This component gets the keyboard height from the hook. It then creates an animated style called fakeView using the useAnimatedStyle hook from reanimated. This style only contains one property: height, which is set to the keyboard's height.
fakeView 动画样式在 TextInput 之后的动画视图中使用。该视图的高度会根据每一帧键盘的高度进行动画变化,从而以平滑的动画将内容推到键盘上方。当键盘被关闭时,它的高度也会减小到零。
🌐 The fakeView animated style is used in an animated view after the TextInput. This view's height will animate based on the keyboard's height at each frame, which effectively pushes the content above the keyboard with a smooth animation. It also decreases its height to zero when the keyboard is dismissed.
import { StyleSheet, Platform, FlatList, View, StatusBar, TextInput } from 'react-native';
import Animated, { useAnimatedStyle, useSharedValue } from 'react-native-reanimated';
import { useKeyboardHandler } from 'react-native-keyboard-controller';

import MessageItem from '@/components/MessageItem';
import { messages } from '@/messages';

const useGradualAnimation = () => {
  %%placeholder-start%%// Code remains same from previous example %%placeholder-end%%
};

export default function ChatScreen() {
  const { height } = useGradualAnimation();

  const fakeView = useAnimatedStyle(() => {
    return {
      height: Math.abs(height.value),
    };
  }, []);

  return (
    <View style={styles.container}>
      <FlatList
        data={messages}
        renderItem={({ item }) => <MessageItem message={item} />}
        keyExtractor={item => item.createdAt.toString()}
        contentContainerStyle={styles.listStyle}
      />
      <TextInput placeholder="Type a message..." style={styles.textInput} />
      <Animated.View style={fakeView} />
    </View>
  );
}

const styles = StyleSheet.create({
  container: {
    flex: 1,
    paddingTop: Platform.OS === 'android' ? StatusBar.currentHeight : 0,
  },
  listStyle: {
    padding: 16,
    gap: 16,
  },
  textInput: {
    width: '95%',
    height: 45,
    borderWidth: 1,
    borderRadius: 8,
    borderColor: '#d8d8d8',
    backgroundColor: '#fff',
    padding: 8,
    alignSelf: 'center',
    marginBottom: 8,
  },
});
其他资源
🌐 Additional resources
请查看 GitHub 上示例项目的源代码。
react-native-keyboard-controllerFor more details on the Keyboard Controller library, see the documentation.