This documentation is available as Markdown for AI agents and LLMs. See the full Markdown index or append .md to any documentation URL.
主机
一个跨平台的 Host 组件,用于封装通用的 @expo/ui 内容。
用于通用 @expo/ui 内容的容器。在 Android 和 iOS 上,它会重新导出平台原生的 Host 用于 Jetpack Compose/Host 用于 SwiftUI,因此 Jetpack Compose/SwiftUI 的子组件的渲染效果与在平台特定包中完全相同。在 Web 上,它会退回到 React Native View。将 Host 用作任何通用子树的根节点,这样相同的组件树可以在所有三个平台上使用。
🌐 A container for universal @expo/ui content. On Android and iOS it re-exports the platform-native Host for Jetpack Compose/Host for SwiftUI, so Jetpack Compose/SwiftUI children render exactly as they would in the platform-specific packages. On web, it falls back to a React Native View. Use Host as the root of any universal subtree so the same component tree works across all three platforms.
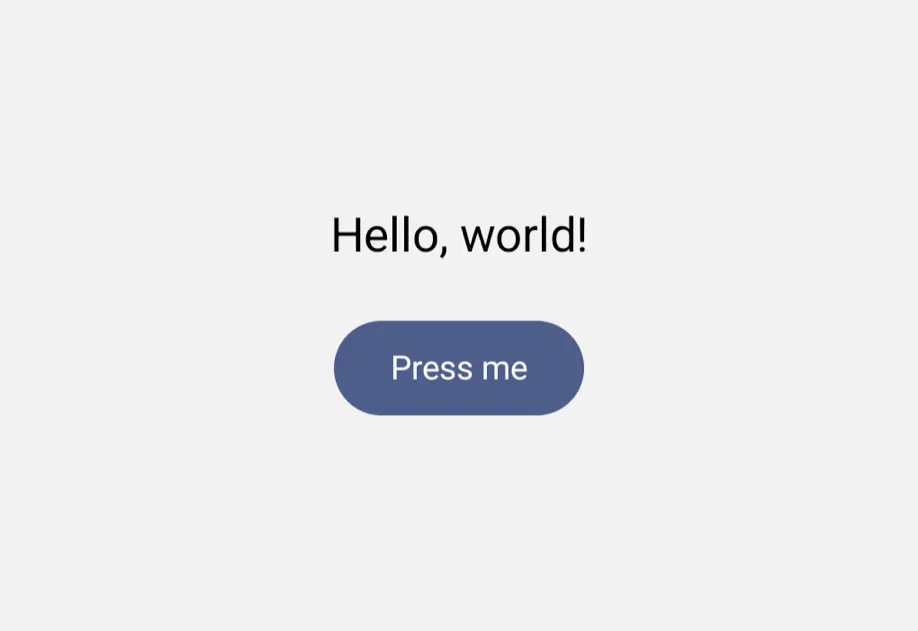
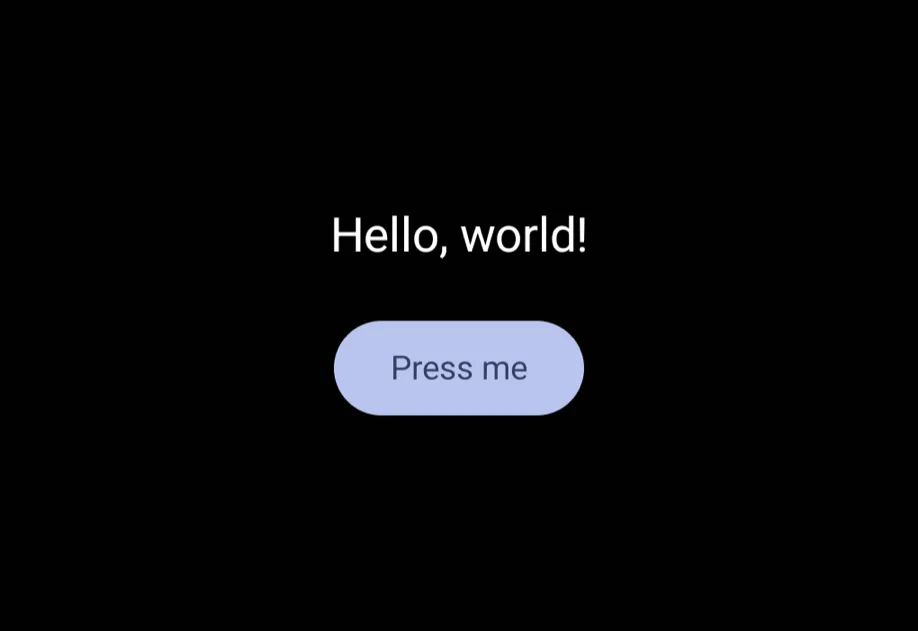
安装
🌐 Installation
If you are installing this in an existing React Native app, make sure to install expo in your project.
用法
🌐 Usage
基本用法
🌐 Basic usage
在 React Native 视图中放置组件
🌐 Placing components inside React Native views
Host 在 Android 上使用 Jetpack Compose,在 iOS 上使用 SwiftUI 来渲染它的通用子组件。Host 里的 React Native 视图,比如 View 或 ScrollView,会切换回 React Native 渲染。如果要在该视图内使用通用组件,需要把组件封装在一个新的 Host 里。即使树中更高层的 Host 已经封装了该视图,也要这么做。
要把 React Native 视图放进一个通用布局里,使用 RNHostView 就行。
🌐 To place React Native views inside a universal layout, use RNHostView.
匹配内容大小
🌐 Match contents sizing
使用 matchContents 让 Host 根据其内容调整自身大小。在 Android 和 iOS 上,这会被转发到平台本地的 Host(具体的平台语义请参见 Jetpack Compose/SwiftUI)。在网页上,它会将 alignSelf: 'flex-start' 应用于底层的 View,使宿主根据其子元素缩小以适应,而不是被父元素拉伸。
🌐 Use matchContents to let Host size itself to fit its content. On Android and iOS, this is forwarded to the platform-native Host (see Jetpack Compose/SwiftUI for the exact platform semantics). On web, it applies alignSelf: 'flex-start' to the underlying View so the host shrinks to fit its children instead of being stretched by its parent.
注意: 在网页上,每轴形式(
{ horizontal: true }/{ vertical: true })的行为与布尔形式相同,因为alignSelf仅控制父元素交叉轴上的拉伸。依赖独立每轴尺寸的组件应该预期,无论选择哪个轴,在网页上都会有相同的收缩适应行为。
布局方向
🌐 Layout direction
使用 layoutDirection 将子树渲染为从左到右或从右到左。在 Android 和 iOS 上,这会被转发到平台本地的 Host(查看 Jetpack Compose/SwiftUI 了解具体平台语义)。在网页上,它会在底层的 View 上设置 dir 属性,使子代继承所选方向。
🌐 Use layoutDirection to render the subtree as left-to-right or right-to-left. On Android and iOS, this is forwarded to the platform-native Host (see Jetpack Compose/SwiftUI for the exact platform semantics). On web, it sets the dir attribute on the underlying View so descendants inherit the chosen direction.
对内容布局做出反应
🌐 Reacting to content layout
使用 onLayoutContent 来接收主机内容当前尺寸的通知。在 Android 和 iOS 上,这会被转发到平台原生的 Host(有关具体平台语义,请参见 Jetpack Compose/SwiftUI)。在网页上,它是从底层 View 的 onLayout 回调中派生的。
🌐 Use onLayoutContent to be notified of the current dimensions of the host's content. On Android and iOS, this is forwarded to the platform-native Host (see Jetpack Compose/SwiftUI for the exact platform semantics). On web, it is derived from the underlying View's onLayout callback.
填充视口
🌐 Filling the viewport
对于应根据可用视口空间调整大小的内容,请使用 useViewportSizeMeasurement。在 Android 和 iOS 上,这将被转发到平台本地的 Host(准确的 平台语义请参见 Jetpack Compose/SwiftUI)。在网页上,宿主的底层 View 会被赋予当前窗口的宽度和高度;你传递的任何显式 style 仍然优先。
🌐 Use useViewportSizeMeasurement for content that should size to the available viewport space. On Android and iOS, this is forwarded to the platform-native Host (see Jetpack Compose/SwiftUI for the exact platform semantics). On web, the host's underlying View is given the current window's width and height; any explicit style you pass still wins.
忽略安全区域
🌐 Ignoring safe areas
默认情况下,Host 会遵循设备的安全区域内边距(刘海、主屏手势指示器等)。使用 ignoreSafeArea="all" 可以让内容延伸到屏幕边缘,或者使用 ignoreSafeArea="keyboard" 保留安全区内边距但忽略键盘内边距。在 Android 和 iOS 上,这会转发到平台原生的 Host(具体平台语义请参见 Jetpack Compose/SwiftUI)。在网页上,它是通过将 CSS env(safe-area-inset-*) 值作为底层 View 的内边距来实现的;默认情况下,对于选择使用 VirtualKeyboard API 的页面,也会包含 env(keyboard-inset-*)。
🌐 By default, Host respects the device safe area insets (notch, home indicator, and so on). Use ignoreSafeArea="all" to let content extend edge-to-edge, or ignoreSafeArea="keyboard" to keep safe-area padding but ignore the keyboard inset. On Android and iOS, this is forwarded to the platform-native Host (see Jetpack Compose/SwiftUI for the exact platform semantics). On web, it is implemented via the CSS env(safe-area-inset-*) values applied as padding on the underlying View; the default also folds in env(keyboard-inset-*) for pages that opt in to the VirtualKeyboard API.
强制颜色方案
🌐 Forcing a color scheme
使用 colorScheme 来覆盖子树的外观。传入 'light' 或 'dark' 可以强制使用其中之一,或者省略以遵循设备设置。在 Android 和 iOS 上,这会转发到平台原生的 Host(具体平台语义请参见 Jetpack Compose/SwiftUI)。在网页上,它会在底层的 View 上设置 data-theme,这样设计令牌的 CSS 变量就会无视 prefers-color-scheme,解析到强制的方案。
🌐 Use colorScheme to override the appearance of the subtree. Pass 'light' or 'dark' to force one, or omit it to follow the device setting. On Android and iOS, this is forwarded to the platform-native Host (see Jetpack Compose/SwiftUI for the exact platform semantics). On web, it sets data-theme on the underlying View so the design-token CSS variables resolve to the forced scheme regardless of prefers-color-scheme.
播种颜色主题
🌐 Seeding the color theme
使用 seedColor 从单一的基础色衍生出应用于子树的主题。每个平台会以本地方式解释它。在 Android 上,它会生成完整的 Material 3 调色板(SchemeTonalSpot,与 Material You 相同的算法),为 Compose 子组件设定主题,并通过 useMaterialColors 暴露给下游。在 iOS 上,它作为 SwiftUI 的色调(tint)应用,通过环境传播来为交互控件如按钮、开关和滑块设定主题。在网页上,它会生成一个主色调尺度,以 CSS 变量形式暴露给底层的 View。如果省略,每个平台都会回退到默认主题。
🌐 Use seedColor to derive the theme applied to the subtree from a single base color. Each platform interprets it natively. On Android, it generates a full Material 3 palette (SchemeTonalSpot, the same algorithm as Material You) that themes Compose children and is exposed to descendants via useMaterialColors. On iOS, it is applied as the SwiftUI tint, propagating through the environment to theme interactive controls such as buttons, switches, and sliders. On web, it generates a primary color scale exposed as CSS variables to the underlying View. When omitted, each platform falls back to its default theme.
应用接口
🌐 API
import { Host } from '@expo/ui';
No API data file found, sorry!