This documentation is available as Markdown for AI agents and LLMs. See the full Markdown index or append .md to any documentation URL.
创建你的第一个应用
在本章中,了解如何创建新的 Expo 项目。
在本章中,我们将学习如何创建一个新的 Expo 项目以及如何运行它。
🌐 In this chapter, let's learn how to create a new Expo project and how to get it running.
从零创建一个新的 Expo 项目,并在 Android、iOS 和网页上运行它。
4 要求
4 要求
1.
在实体 Android 或 iOS 设备上安装 Expo Go。
2.
在你的计算机上安装 Node.js(LTS 版本)。
3.
安装 VS Code 或任何其他首选的代码编辑器或 IDE。
4.
打开终端窗口的 macOS、Linux 或 Windows(PowerShell 和 WSL2)。
本教程假设你熟悉 TypeScript 和 React。如果你不熟悉,请查看 TypeScript 手册 和 React 官方教程。
🌐 This tutorial assumes you are familiar with TypeScript and React. If you are not, check out the TypeScript Handbook and React's official tutorial.
1
初始化一个新的 Expo 应用
🌐 Initialize a new Expo app
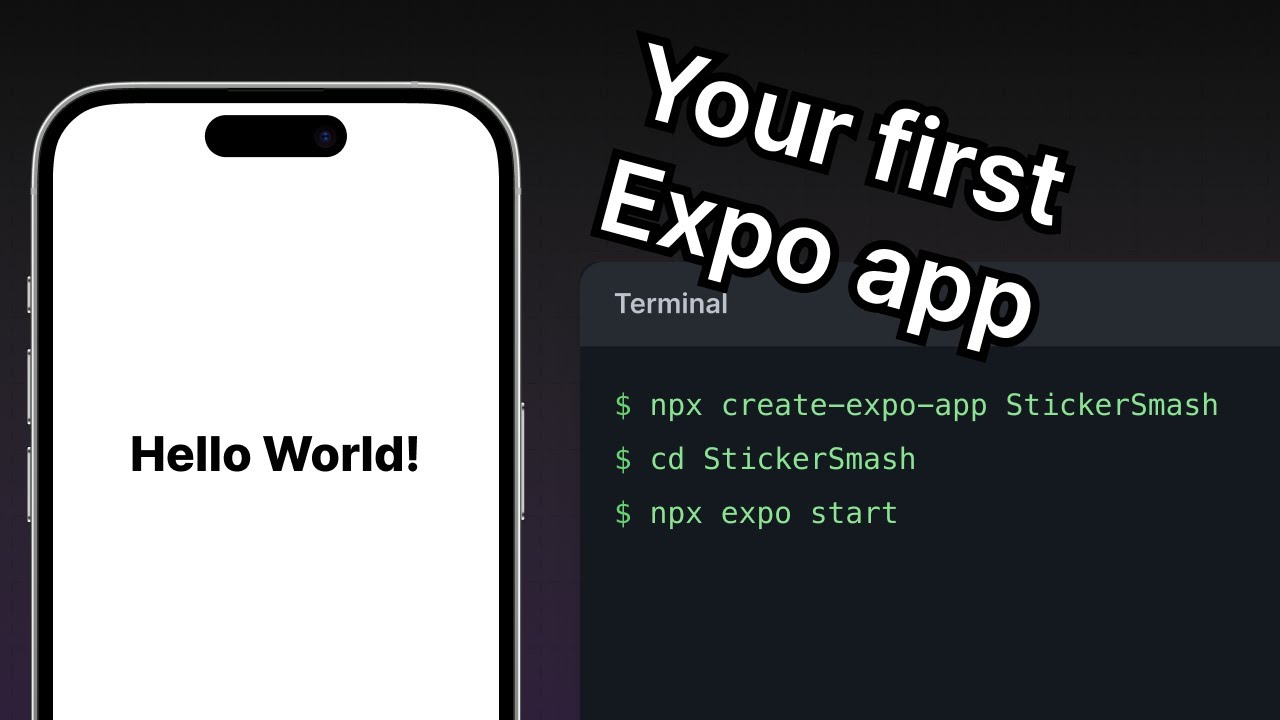
我们将使用 create-expo-app 来初始化一个新的 Expo 应用。这是一个用于创建新的 React Native 项目的命令行工具。在你的终端中运行以下命令:
🌐 We'll use create-expo-app to initialize a new Expo app. It is a command-line tool to create a new React Native project. Run the following command in your terminal:
# Create a project named StickerSmash- npx create-expo-app@latest StickerSmash# CLI will prompt you to choose a template. Select SDK 54.- Select an Expo SDK version > SDK 54# Navigate to the project directory- cd StickerSmash信息
create-expo-app@latest当前要求选择一个 Expo SDK 模板。本教程是为 SDK 54 设计的,因此请确保选择 SDK 54 模板。
此命令将创建一个名为 StickerSmash 的新项目目录,使用 SDK 54 的默认 模板。该模板包含构建我们应用所需的基本样板代码和库,包括 Expo Router,并允许我们在设备上安装了 Expo Go 后测试我们的应用。在整个教程中,我们将根据需要继续添加更多库。
🌐 This command will create a new project directory named StickerSmash, using the SDK 54's default template. This template has essential boilerplate code and libraries needed to build our app, including Expo Router and allows us to test our app with Expo Go installed on our devices. We'll continue to add more libraries throughout this tutorial as needed.
2
下载资源
🌐 Download assets
在本教程中,我们将始终使用这些资源。
下载压缩包后:
🌐 After downloading the archive:
- 解压存档,并替换 your-project-name/assets/images 目录中的默认资源。
- 在代码编辑器或集成开发环境中打开项目目录。
3
运行 reset-project 脚本
🌐 Run reset-project script
在本教程中,我们将从零开始构建我们的应用,并了解添加基于文件的导航的基本原理。让我们运行 reset-project 脚本来移除样板代码:
🌐 In this tutorial, we'll build our app from scratch and understand the fundamentals of adding a file-based navigation. Let's run the reset-project script to remove the boilerplate code:
- npm run reset-project运行上述命令后,app 目录中会剩下两个文件(index.tsx 和 _layout.tsx)。脚本会将 app 及其他目录(components、constants 和 hooks——包含模板代码)中的先前文件移动到 app-example 目录中。我们将在后续过程中创建自己的目录和组件文件。
🌐 After running the above command, there are two files (index.tsx and _layout.tsx) left inside the app directory. The previous files from app and other directories (components, constants, and hooks — containing boilerplate code) are moved inside the app-example directory by the script. We'll create our own directories and component files as we go along.
4
在移动端和网页上运行该应用
🌐 Run the app on mobile and web
在项目目录中,从终端运行以下命令以启动开发服务器:
🌐 In the project directory, run the following command to start the development server from the terminal:
- npx expo start运行上述命令后:
🌐 After running the above command:
- 开发服务器将启动,你会在终端窗口中看到一个二维码。
- 扫描该二维码以在设备上打开应用。在 Android 上,使用 Expo Go > 扫描二维码 选项。在 iOS 上,使用默认的相机应用。
- 要运行 web 应用,请在终端中按 W 。它会在默认的网页浏览器中打开 web 应用。
一旦它在所有平台上运行,应用应该看起来像这样:
🌐 Once it is running on all platforms, the app should look like this:
5
编辑索引界面
🌐 Edit the index screen
app/index.tsx 文件定义了应用屏幕上显示的文本。它是我们应用的入口,当开发服务器启动时会执行。它使用了 React Native 的核心组件,如 <View> 和 <Text> 来显示背景和文本。
🌐 The app/index.tsx file defines the text displayed on the app's screen. It is the entry point of our app and executes when the development server starts. It uses core React Native components such as <View> and <Text> to display background and text.
应用于这些组件的样式使用的是 JavaScript 对象,而不是 Web 上使用的 CSS。不过,如果你之前在网页上使用过 CSS,许多属性看起来会很熟悉。大多数 React Native 组件接受一个 style 属性,其值是一个 JavaScript 对象。更多详情请参见 React Native 中的样式。
🌐 Styles applied to these components use JavaScript objects rather than CSS, which is used on web. However, a lot of the properties will look familiar if you've previously used CSS on web. Most React Native components accept a style prop that accepts a JavaScript object as its value. For more details, see Styling in React Native.
让我们修改 app/index.tsx 屏幕:
🌐 Let's modify app/index.tsx screen:
- 从
react-native导入StyleSheet并创建一个styles对象来定义我们的自定义样式。 - 向
<View>添加一个styles.container.backgroundColor属性,值为#25292e。这会改变背景颜色。 - 将
<Text>的默认值替换为“主屏幕”。 - 向
<Text>添加一个styles.text.color属性,值为#fff(白色),以更改文本颜色。
import { Text, View, StyleSheet } from 'react-native';

export default function Index() {
  return (
    <View style={styles.container}>
      <Text style={styles.text}>Home screen</Text>
    </View>
  );
}

const styles = StyleSheet.create({
  container: {
    flex: 1,
    backgroundColor: '#25292e',
    alignItems: 'center',
    justifyContent: 'center',
  },
  text: {
    color: '#fff',
  },
});
React Native 使用与网页相同的颜色格式。它支持十六进制三位数(这就是
#fff)、rgba、hsl和命名颜色,如red、green、blue、peru和papayawhip。欲了解更多信息,请参阅 React Native 中的颜色。
一旦你保存更改,它们会被发送并应用到连接到开发服务器的运行中的应用中:
🌐 Once you save your changes, they're sent and applied to the running apps connected to the development server:
概括
🌐 Summary
Chapter 1: Create your first app
我们已成功创建了一个新的 Expo 项目,使用了 React Native 核心组件,并准备开发我们的 StickerSmash 应用。
在下一章中,我们将学习如何向我们的应用添加堆栈导航和标签导航。